Kolom YOTers
[BASIC PHOTOSHOP TUTORIAL] 1. Cara Membuat Picture in Text
Hello YOTers!!!!!!
This is the first article from BASIC PHOTOSHOP TUTORIAL series. For those who are interested in editing, and are willing to learn Photoshop, but been confused about how to start, I hope this will help you. I am not expert tho, and I am still learning how to make a good editing on Photoshop. So, I really hope your kindda feedbacks, and other suggestions may be, to help me to get better in editing. We are sharing for each other about what we know about Photoshop.
Btw, I have been published this article somewhere else, on another platform. So, if you might have seen a same article, that’s also me. Don’t worry, it’s not plagiarism.
Enough with the chit-chat, let’s start.
Step 1
Before you edit or create something in photoshop, you need to make a new canvas first. You can click tab menu File ==>> New, or use the keyboard combination Ctrl + N.

After that, you can arrange your own canvas, like the Height, Width, and the resolution. I recommend you to use a big resolution (100 or 200) so that your picture will have a good quality. You also need to make sure that the Colour Mode already in RGB Colour, and the Background Contents already in white.
Step 2

Click Horizontal Type Tool (Red Marked) and start to write anything like in the picture. After that, click CHARACTER tab (Right Side) to arrange The font size and style. If the tab doesn’t show on your screen, you can click the icon with a blue mark on it.
Step 3
If you have done with your text, open the picture that you want to use. Click tab menu File ==>> Open, or type Ctrl + O on your keyboard. Chose the picture, and then click open.
 Cr: Google (Sorry, I forgot the site because I got the picture a few years ago.)

After that, move the picture to the canvas (Untitled-1) using Move Tool (Something with a red mark on it). You need to pay attention to the layer set (Blue arrow). Make sure that layer 1 is on the top of the text. You also need to make sure that the picture size fits the text. If it doesn’t, type Ctrl + T on your keyboard and arrange the size. After that, you can click enter.
Step 4
This is the important step. Before you start this step, make sure that the picture you want to edit is in the on mode (On Mode = Blue highlight). After that, arrange the blending mode/the blending option from Normal to Overlay.


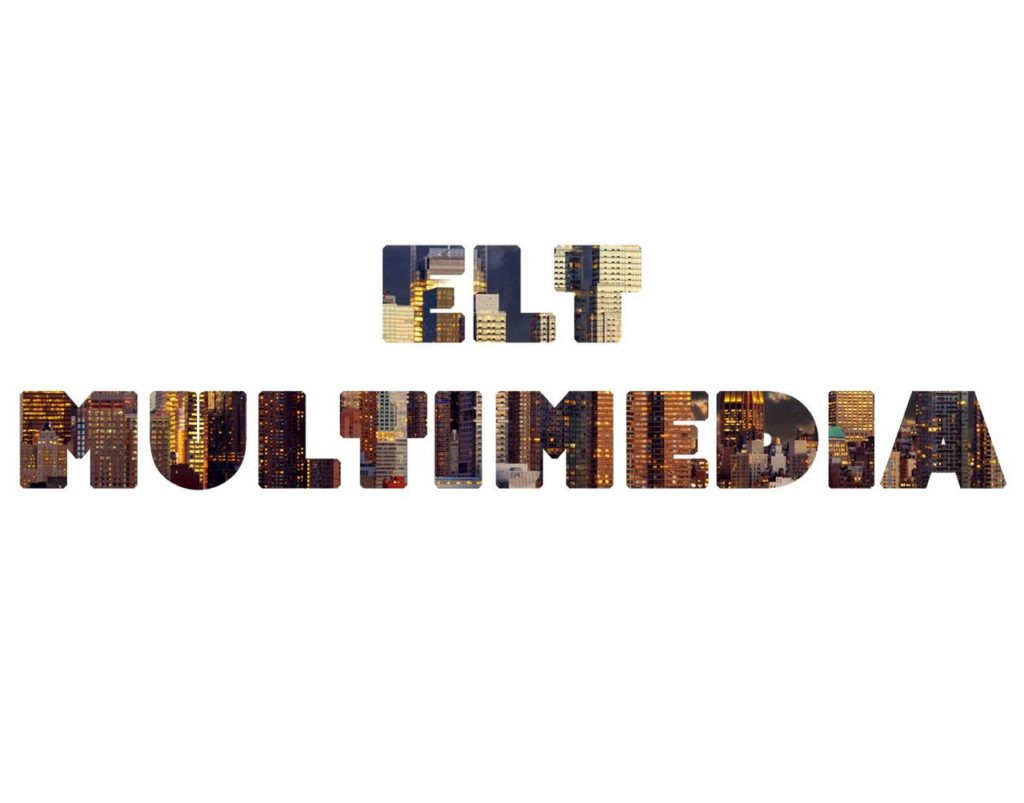
And here it is, your text with picture effect in it already done. Beside of change the blending option, you can also use another way to make this kind of picture. Click the right bottom of your mouse on the picture or layer 1, then chose Create Clipping Mask. You will also get the same result.
Step 5

Final step!!!!!!! Yeiii… 😆😆😆
After you finished all of the steps before, it’s time to save your edited picture.
Click Ctrl + S on your keyboard, change the name (whatever you want), and don’t forget to change the format from PSD to JPG/JPEG (Blue Highlighted), click save, arrange the quality into maximum, then click OK.

Your picture has been saved.
Author: Ismi Nur Wulandari


